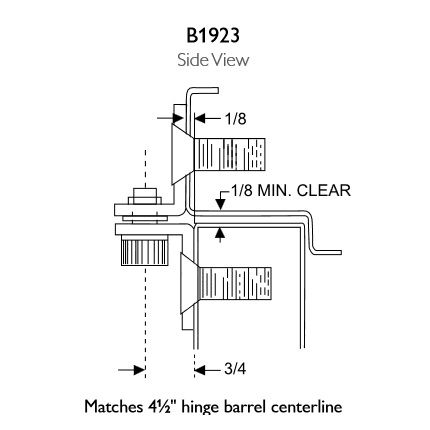
Markar B1923 Reinforcing Pivot, Full Surface Non-Handed With 3/4" Offset

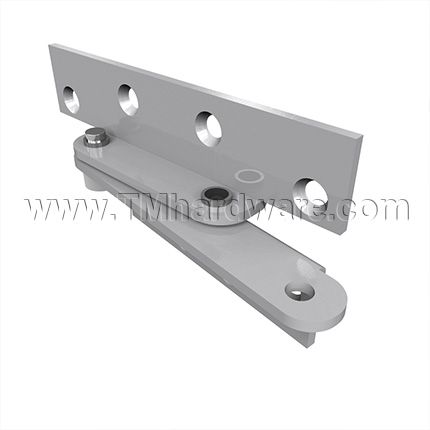


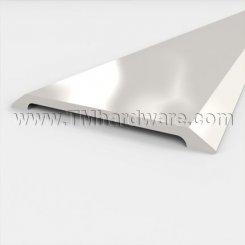
Full Surface Reinforcing Pivot by Markar Architectural Products with 3/4" offset to match pivot point of 41/2" wide hinge. Heavy Duty, non-handed pivot for use on doors where the top hinge needs reinforcement. Zinc plated finish over cold-rolled steel.
PRICED PER PIECE
See tabs below for additional information
Markar B1923 Full-Surface Reinforcing Pivot for Flush Doors with 3/4" offset for 4 1/2" hinges.
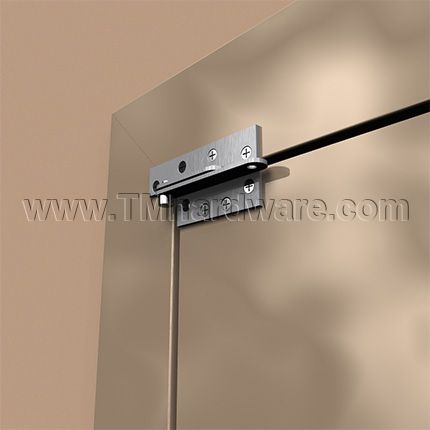
Applications: Full surface reinforcing pivot adds years of life to openings where the hinge or hinge reinforcements have failed. Economic way to solve door sag problems, reinforcing pivots take the load off the top hinge and transfer it to screws that will not pull out. Designed for new and retrofit construction for schools, health care, public buildings or any area where high-quality durable installation is needed.
Design: Supports weights up to 300 lbs. 3/4" offset to match the pivot point of a 4 1/2" wide butt hinge. Hole pattern symmetrically located.
Materials: Heavy-duty 3/16" (.187) cold-rolled steel
Finish: Zinc Plated (US2G) finish
Handing: This hinge is non-handed.
Mounting Hardware: Included with reinforcing pivot. 8 each 1/4-20 x 3/4" Phillips flat head machine screws, 8 each #14 x 1 1/4" Phillips flat head sheet metal screws, 2 each 1/4-20 x 1 3/4" sleeve bolts.
Priced per piece
Please note, images are for illustrative purposes only. They are not actual photos. Therefore, actual colors may vary slightly and size may be enlarged to show detail.
Click to view our Markar MP606 Brushed Cover Clip.
This product has a 5 year warranty against defects in workmanship and material.
Click here to view our Full Warranty Policy.
| Click to print Markar B1923 Reinforcing Pivot Product Specs. |
Product Specs: |
  |
| Click to print Installation Instructions for Markar B1923 Reinforcing Pivots. |
Step 1: |
| To locate pivot on frame, hold combination square in corner of frame and place installation template against square exactly as shown, spot hole centers with center punch. |
Step 2: |
|
Drill holes required as per schedule. Note: If material thickness is not sufficient or when hollow metal frames are not reinforced, use #14 x 1 1/4" Type A sheet metal screws. Wood Frame: Drill pilot holes and install wood screws. |
Step 3: |
| With door in place, check to be sure that hinges are firmly attached and there is proper clearance between door and frame at all sides, including bottom of the door. If door tends to sag away from hinge jamb at top, drive wedges between frame and door at opposite strike side and re-align hinges until door is properly positioned to swing free. |
Step 4: |
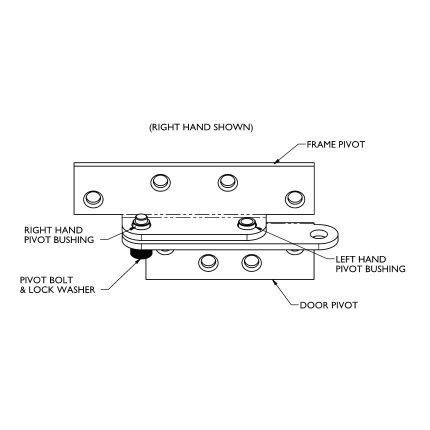
| Place door portion of pivot (with pivot in place) on door and move into position so the pin enters bronze bushing. When properly aligned with lower part making light contact with bearing flange, hold firmly in place parallel with head of door and mark hole locaitons. |
Step 5: |
|
Repeat drilling instructions noted in Step 2 for metal doors, drill .2010 diameter holes (No. 7 drill) for 1/4-20 machine screws and tap hole. Note: Use two sleeve bolts furnished with each pivot. Use as required for hollow metal or mineral core doors (See Fig. 3). Drill 1/4" hole through door. Enlarge hole on side opposite pivot to 3/8" diameter for sleeve bolt. |