

Markar EGC308 Stainless Steel Edge Guard, Single Return

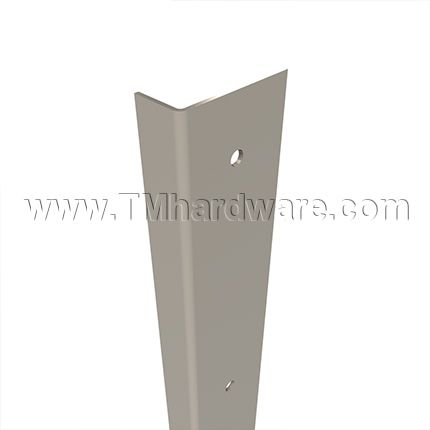

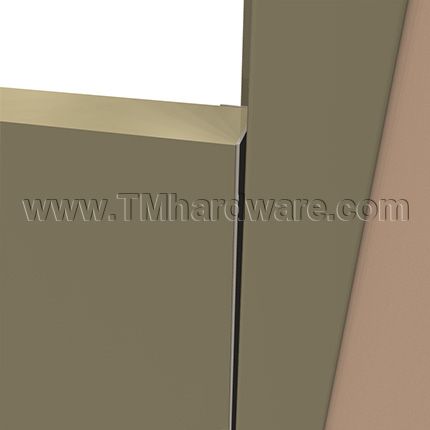
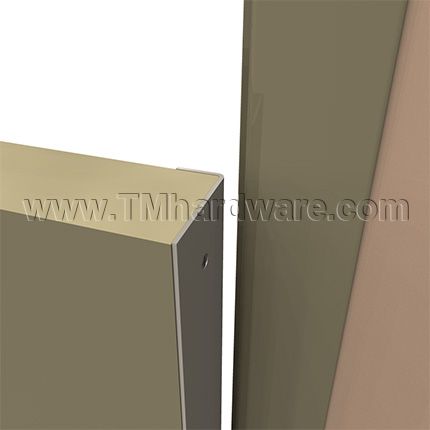

Markar EGC308 is a Stainless Steel Single Return Edge Guard for 1 3/4" bevel edge doors. Hinge guard is made from Stainless Steel with a Satin finish. Available in standard stock sizes, see below for details.
PRICED PER PIECE
See tabs below for additional information
Marker EGC308 is a Stainless Steel Single Return Edge Guard for the lock side of the door.
-
Standard Sizes: 6'8", 7'0", 7'2", 8'0". Custom sizing available, contact us or call at 845-388-1300 for details and pricing.
-
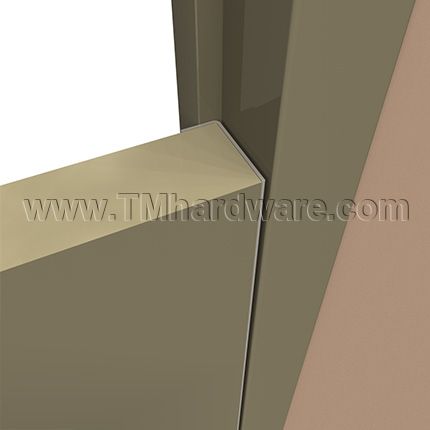
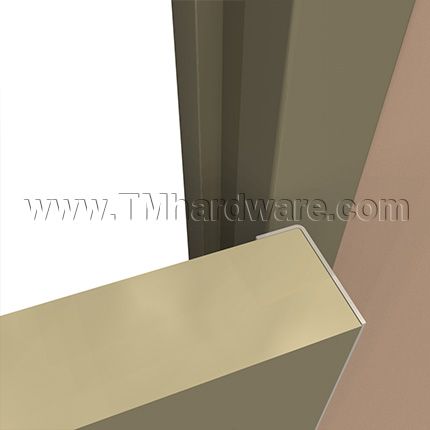
Applications: Fire labeled edge guard for 1 3/4" doors. Provides protection for the leading edge of the door. When used in conjunction with the HG315 Hinge/Guard it provides a balanced, aesthetic look. May not apply to all wood doors. Please contact us or call at 845-388-1300 for specific wood door applications.
-
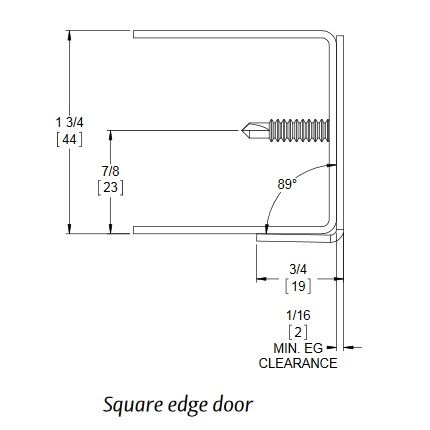
Design: Constructed from Heavy-Duty 16 gauge Stainless Steel. Fasteners concealed when door is closed. Designed for beveled edge doors as standard, for square edge doors, please contact us or call 845-388-1300.
-
Finish: US32D Satin Stainless Steel (630). Custom finishes are available, contact us or call at 845-388-1300 for details and pricing.
-
Mounting Hardware: Custom 12-24 x11/16" S.S.Phillips Flat Head Undercut TEK Screws.
Custom 12-24 x 1 1/2" S.S. Phillips Flat Head Particle Board Screws.
-
Certifications: This Edge Guard is fire-rated.
-
Modifications and Options: Adjustable monitoring switch, hospital tip hinges, medical bearings, dutch door hinge preparation, custom hole patterns, special sheared leaf, wide throw hinges, raised barrel(Swage), edge guard hardware cut-outs, special length hinges, Electrical Modification Access Prep, CTP-Current Transfer Preparation, CE - Current Transfer-Concealed, CT- Current Transfer- Contact Switch, ES-Exposed Monitoring Switch, blank hinges (minus hole pattern), lead lined cover (1/16" LEAD), security fasteners are available through our office. For details and pricing please contact us or call 845-388-1300.
-
Priced per Piece
- Please note, images are for illustrative purposes only. They are not actual photos. Therefore, actual colors may vary slightly and size may be enlarged to show detail. See product specs for exact measurements.
Click to view our Markar EGT308 Adjustable Edge Guard with Astragal.
This product has a 1 year warranty against defects in workmanship and material.
Click here to view our Full Warranty Policy.
Printable Documents: |
|
Click to print Markar EGC308 Continuous Hinge Product Specs. |
Product Specs: |
  |
Certifications: |
 |
| Click to print Installation Instructions for Markar EGC308 Edge Guard. |
STEP 1. Door Preparation: |
|
1. Place the edge guard on the edge of the door. Position the top of the edge guard so that it's flush with the top of the door. (Fig 1). 2. Mark and center punch each hole on the door with the edge guard held firmly in place. Remove the edge guard from the door and prepare to drill the holes. 3. Drill Holes: For wood doors, drill all holes using a #28 or 9/64" drill bit. For hollow metal doors, drill all holes using a #16 drill bit. If hollow metal door is reinforced, thread all holes with 12-24 tap. For Optional Adjustable Edge Guard: (Adjust-A-ScrewTM are needed for models EG308 and EFT308 only) For wood doors, drill all holes using a #28 or 9/64" drill bit then enlarge hole to 5/16" with a minimum depth of 1 3/8". Insert Adjust-A-Screws (Hex head 3/8-16 External Thread, #10-32 Internal Thread (M26-0031-01) into every hole. Place a 7/32" Allen wrench in the opening of the Adjust-A-Screw and turn the Adjust-A-Screw into the hole while keeping the screw properly aligned as shown (Fig. 2). Drive all the Adjust-A-Screws in until it's approximately 1/8" from edge of door (Adjust-A-ScrewTM will self tap.) Hollow Metal Doors, drill all holes using a #28 or 9/64" drill bit then enlarge hole with 5/16" bit. Tap all holes with 3/8-16 thread. Insert Adjust-A-Screws into every hole. Place a 7/32" Allen wrench in the opening of the Adjust-A-Screw and turn the Adjust-A-Screw in to the hole while keeping the screw properly aligned as shown (Fig. 2.) Drive all the Adjust-A-Screws in until it is approximately 1/8" from edge of door. Note: It's not necessary to tap the holes in wood doors since Adjust-A-Screws cut their own threads. Do not be concerned with the tight fit. Adjust-A-screws cut their own threads. Do not be concerned with the tight fit. Adjust-A-Screw are designed for a tight friction fit in the tapped holes so they will not turn when the attachment screw is being tightened. If the Adjust-A-Screws turn too freely, apply LoctiteTM for threaded joints to the screw threads during installation. |
STEP 2. Installing the Edge Guard |
|
Non Adjustable Installation (Fig. 3): For wood doors: attach edge guard to the door using #12-8 x 1 1/2" Flat Head Particle Board screws (PBS12150SP10SS). For hollow metal doors: Attach Edge Guard to the door using #12-24 x 11/16" Flat Head Undercut Self Drilling Machine Screws (TKS1267SP10SS). Adjustable Installation(Fig. 4): Wood and Hollow Metal Doors: Attach Edge Guard to the door using #10-32 x 3/4" Flat Head Machine Screw (MS10075SS). Install the top and bottom screws first, then close door to check alignment. See special note below. |
Special Note (Adjustable Options): |
| If the clearance is sufficient, install and tighten the remaining screws into the adjust-a-Screws. If the edge guard requires adjustment for proper clearance, make this adjustment with the two screws installed without removing the edge guard. Remove the top screw and insert the Allen wrench through the hole into the Adjust-A-Screw. Turn the Adjust-A-Screw in the direction desired for adjustment. One full turn of the Allen Wrench is equal to 1/16". Reinstall the screw. Adjust the bottom Adjust-a-screw in the same manner. Close the door to verify proper clearance in the opening. The balance of the Adjust-A-Screw should be adjusted in the same manner until all are resting firmly against the inside face of the edge guard. Then install and tighten the remaining machine screws. |