


Great product, very slow delivery
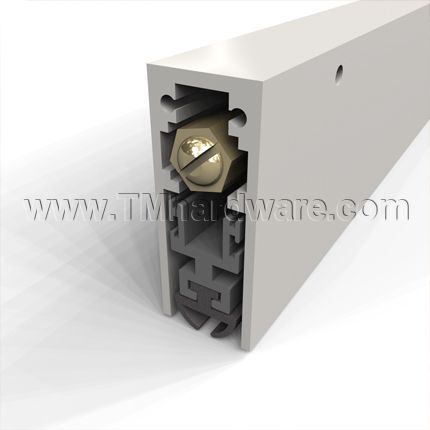
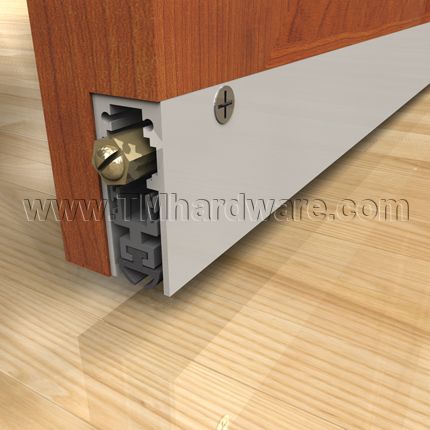
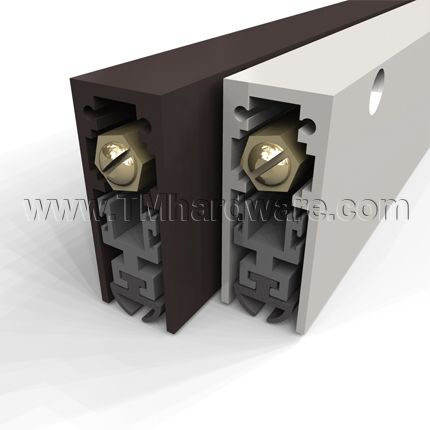
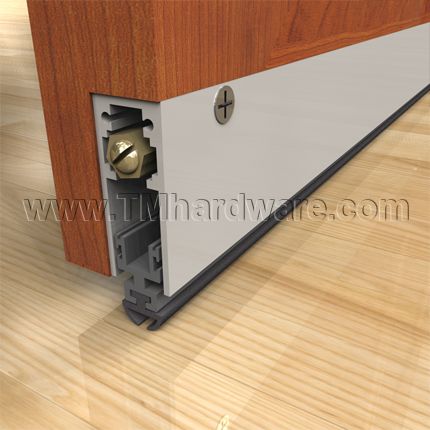
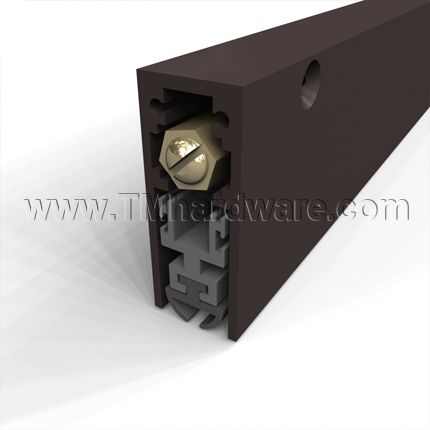
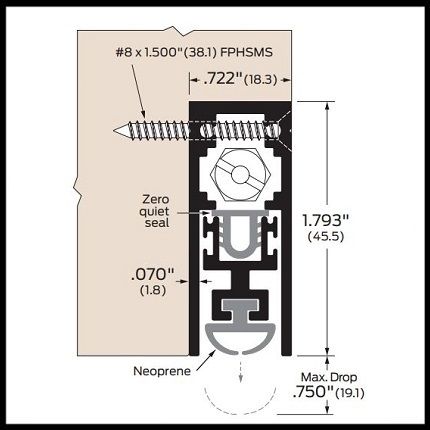
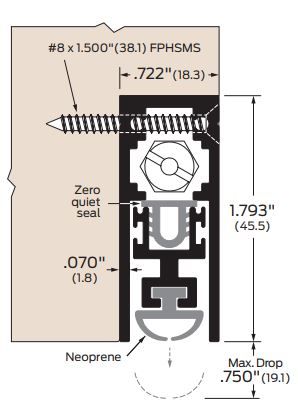
Comments about Zero #352, Automatic Door Bottom, Semi-Mortised with Neoprene Seal, .75" Drop
I had door conventional sweeps and door bottoms that were catching on the floor or dragging on the carpet. These now seal only when the door is shut so the door swings properly.
Was this review helpful to you?


