

.jpg "How to Install an Automatic Door Bottom- Figure 1")
.jpg "How to Install an Automatic Door Bottom- Figure 1")
.jpg "How to Install an Automatic Door Bottom- Figure 1")
.jpg "How to Install an Automatic Door Bottom- Figure 1")
.jpg "How to Install an Automatic Door Bottom- Figure 1")
I definitely would but this product. #sweepstakes
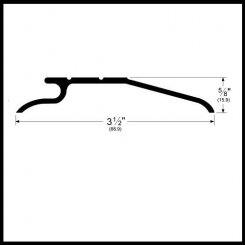
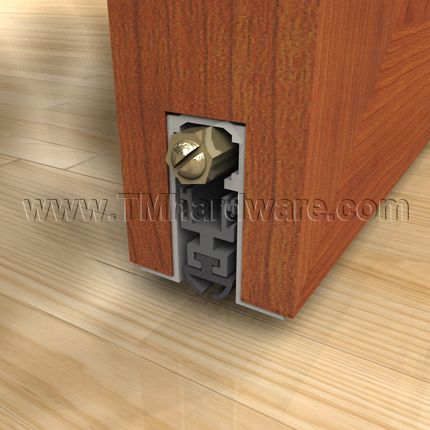
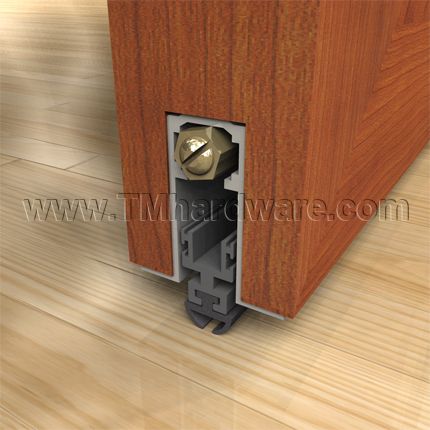
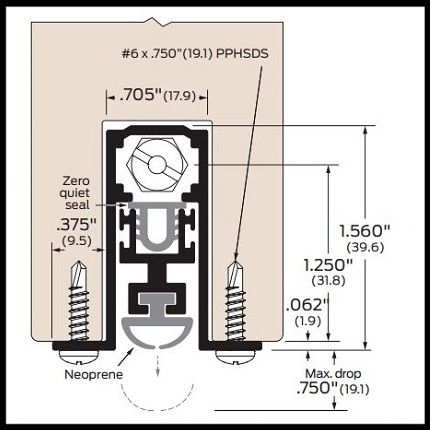
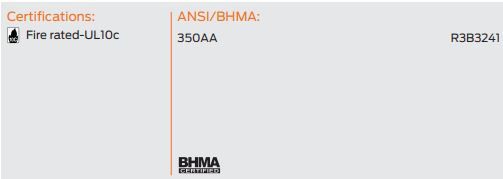
Comments about Zero #350, Automatic Door Bottom, Mortised with Neoprene Seal, .75" Drop
We bought a 13" unit, we must have done something wrong when adjusting it... Two weeks in service, the unit broke and had to get replaced. We also didn't like the neoprene seal, it felt too simple. #sweepstakes I definitely would but this product but for doors that'll see less traffic. PSM Construction Services, SoCal