


Looks nice doing what they say.
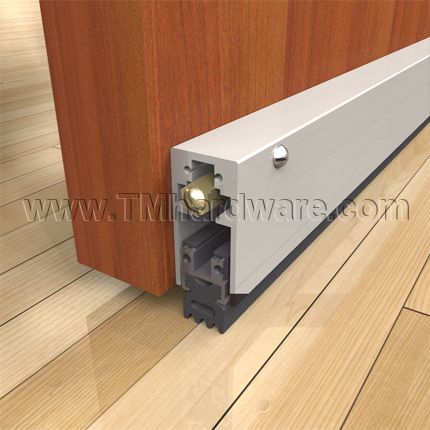
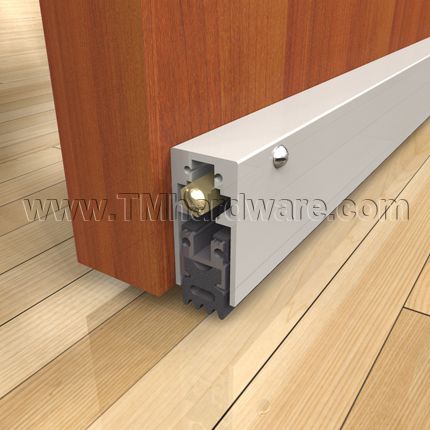
Comments about TMH Automatic Door Bottom, Surface Mounted, Heavy Duty, Sponge Neoprene Seal, 1" Drop
#sweepstakes Trademark made the process easy and straightforward, made sure my multiple packages were sent out at the same time, and was clear in communications through out the process. Product came safely packaged and looks nice. Trademarks instructions have me covered for what to do to properly mount.
Was this review helpful to you?


