


Yes, without hesitation!!
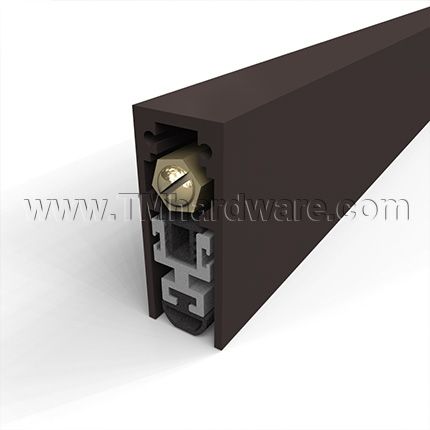
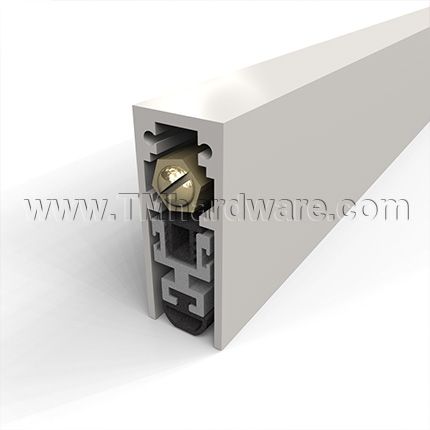
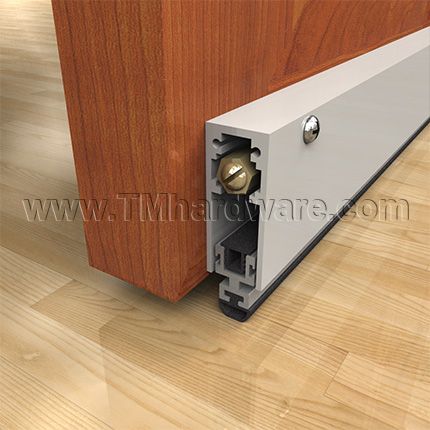
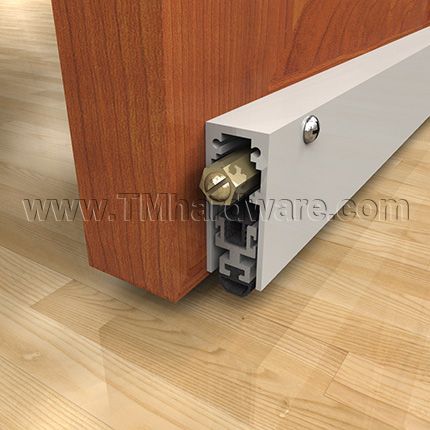
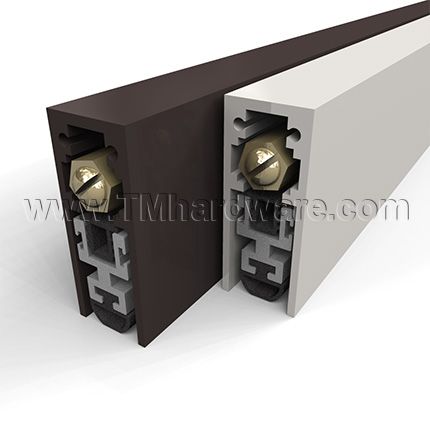
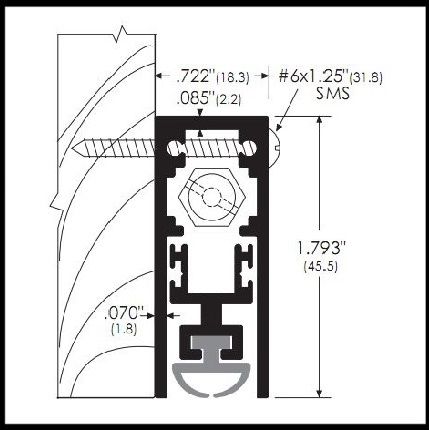
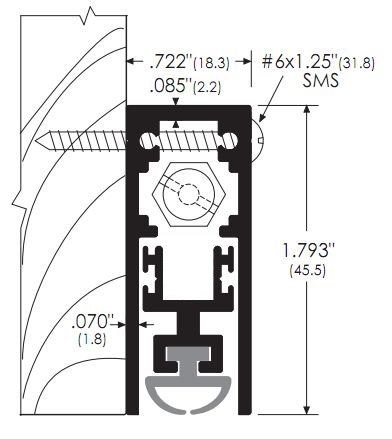
Comments about TMH Automatic Door Bottom, Surface Mounted with Neoprene Seal, Regular Duty, .75" Drop
No More draft, cigarette smoke from the hallway....Excellent!!
Was this review helpful to you?


